
If you thought Microsoft Word was all about word processing and writing business reports and checking your spelling, you’d be right. But the program actually does do a little more than that. It’s also a powerful publishing design tool, and you can even use it to make your own calendar. Here’s how to do it.
Start by creating a table.
From the “Insert” tab at the top of the page, select “Table.” You can either choose “Insert table” from the menu and enter the number of rows and columns you’ll need or you can simply pull the cursor across the squares to replicate the table you’re going to use.
You’ll want the table to have seven columns and six rows.
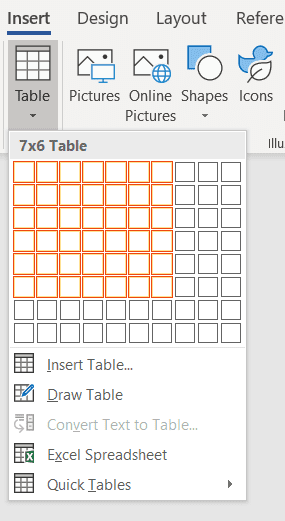
Make the table 7×6.
Now you can begin formatting the table.
Place the cursor over the table until an icon appears in the top left corner. Right-click the icon and choose “Table Properties.”
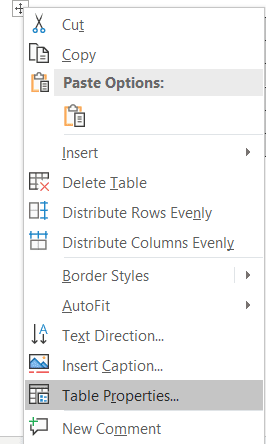
Set the table’s properties.
Under the “Row” tab, check the box marked “Specify height” and set the height as 2.5 cm. When you press “OK,” the table will magically expand.
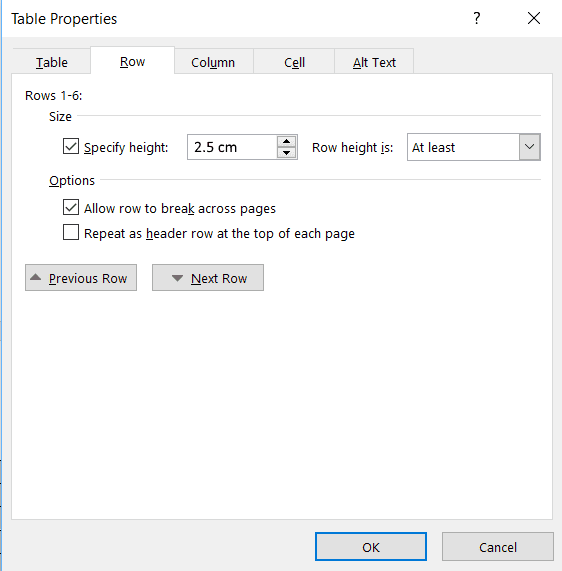
Set the height to 2.5 cm.
Mouse over the table again and right-click on the icon in the corner to select the entire table. You can now set the formatting of the text that the calendar will display. From the “Home” tab at the top of the page, choose “Right align” and pick any font, font size and font color that you wish.
Select the top row by right-clicking the space to the left of the row, and choose “Table properties” again. Change the height of the top row to 1.5 cm, then select “OK.”
Enter a day of the week in each of the cells in the top row. You can adjust the formatting of the text by right-clicking the row and picking an alignment, text color, and size, and so on.
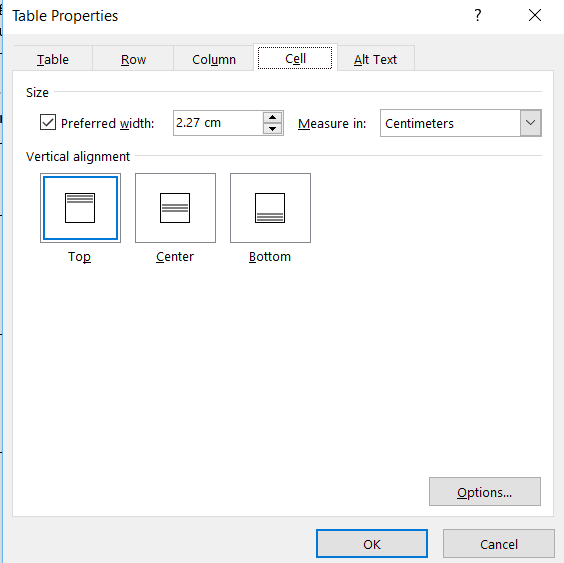
Now you’ll need to be a little careful. Use your computer’s calendar to check which day of the week the first month you wish to create begins, then start entering the dates in each of the cells. Again, you can adjust the formatting by selecting the table, then choosing “Table properties.” The “Cell” tab lets you change the vertical alignment of the numbers so you can place them at the bottom of the cell if you wish.
Format the table.
The next step is to add the name of the month.
Select the first row, choose “Insert,” then “Insert Rows Above.” Select that row, then choose “Merge Cells” to create a single space for a header. Enter the name of the month, and format the text.

It’s starting to come together.
Move the cursor beneath the table, and press Ctrl-Enter to create a new page. Copy and paste the table into the next page and enter the details of the following month. Repeat the process another ten times and you’ll have a home-made, Word-based calendar.
You can then have some fun playing with the design.
Select the table, then “Table Properties,” and “Borders and Shading” under the “Table” tab. Select “Shading” and you’ll be able to paint the cells any color you want.
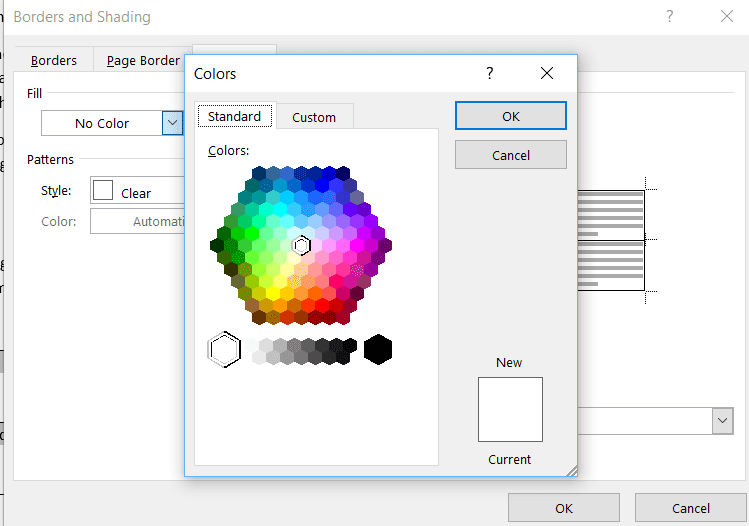
Color your table’s cells.
If you really want to get creative, you can choose “Insert” from Word’s navigation bar and insert a picture above each month.
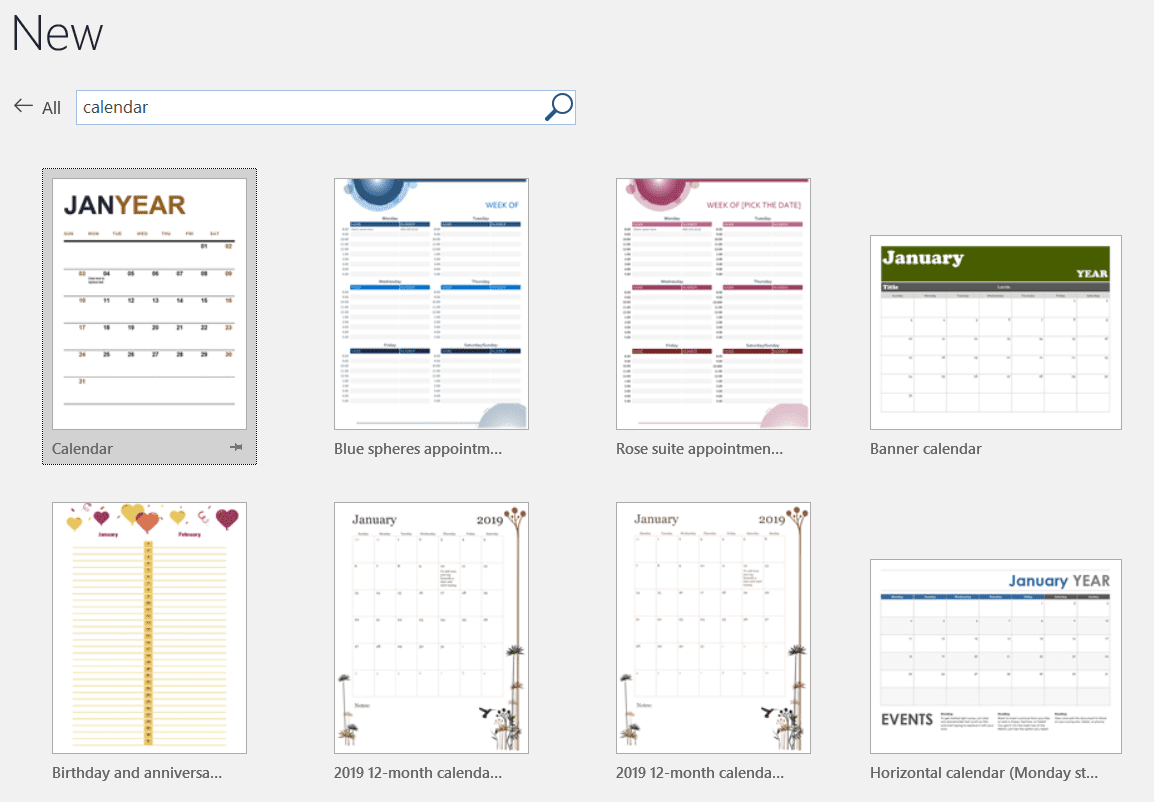
Or just choose a calendar template.
Or you could save yourself a bit of time: Under the “File” tab, select “New” and search the online templates for a calendar. You’ll find you’ll have quite a choice of prepared Word calendars with plenty of fancy graphics.
Have fun and enjoy the process. Frustration leads to errors and non-remembering. We will come back and update this page as new information comes out.


Howie Jones
My name is Howie and I'm a Customer Success Manager at Calendar. I like to ensure our customers get the best experience using our product. If you have questions email me howie at calendar.com